■ Introduction
It is a summary from Raspberry Pi 3 Model B + (hereinafter referred to as “Raspai”) until OS startup after purchasing.
In addition, I will perform internet browsing using wifi, using wireless mouse with Bluetooth.
■ Implementation Flow
Preparation 1. Preparation of Raspberry and peripheral equipment
Preparation 2. Connection with Raspberry
Preparation 3. Place OS data on the SD card
Task 1. Power ON
Task 2. OS Setup
① Language selection
② OS installation selection
③ OS installation complete
Task 3. Initial setting
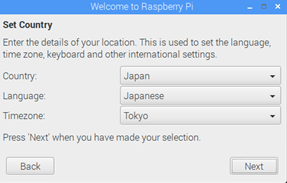
① Region selection
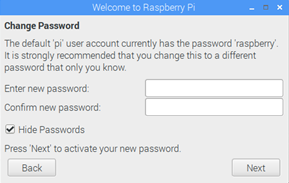
② Input default user password
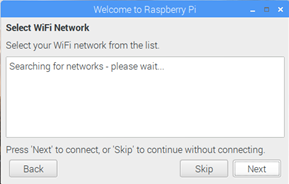
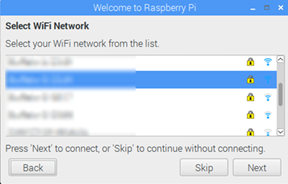
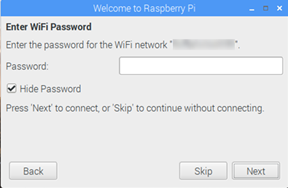
③Wifi setting
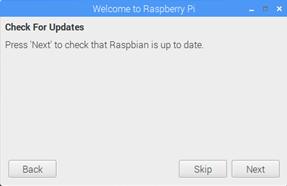
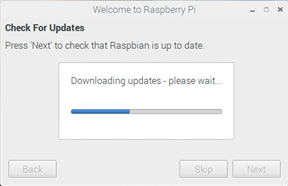
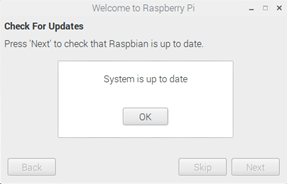
④ System update
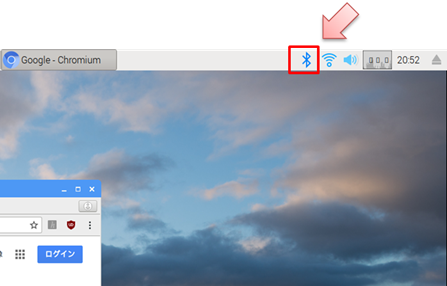
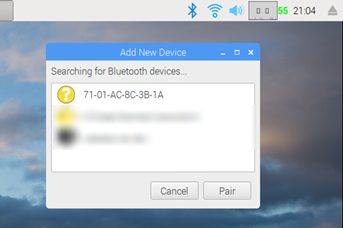
Task 4. Bluetooth settings
① Add device
② Device selection
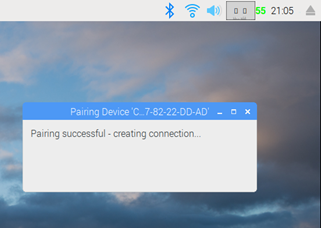
③ Establish pairing
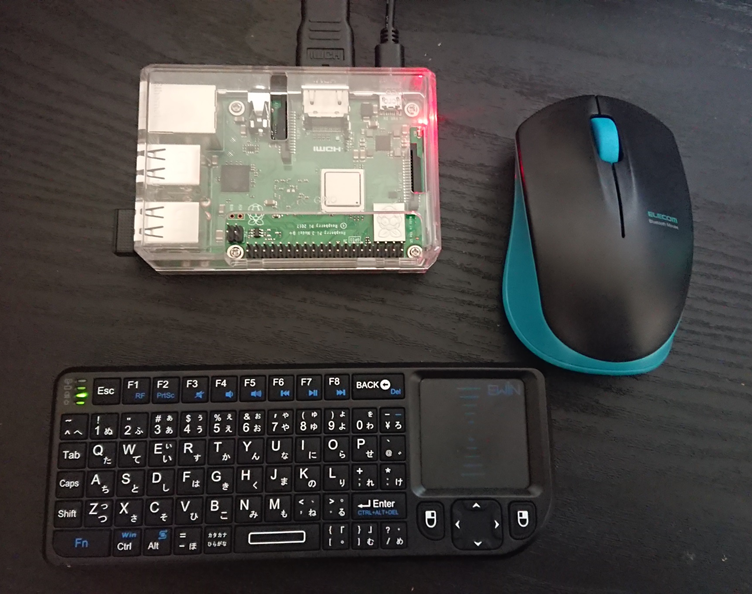
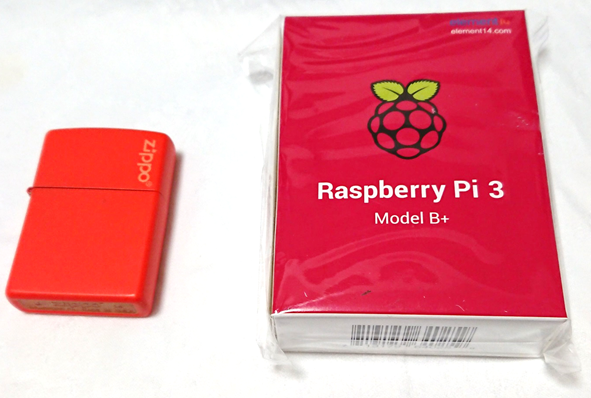
■ Preparation 1. Preparation of Raspberry and peripheral devices
Because only Raspberry’s box contains the foundation, we prepare peripheral equipment together for operation.
# Most purchased with Akiba
· RaspberryPi Opening Ceremony

· Preparation of this time
| Mandatory / if any | device | price | Remarks |
|---|---|---|---|
| Required | Raspberry Pi 3 Model B + | About 5000 yen | Purchase with Akiba |
| Required | Power supply for Raspberry Pi (5 V 3.0 A) | About 1500 yen | Purchase with Akiba |
| Case for Raspberry Pi 3 | About 1500 yen | Purchase with Akiba | |
| Required | microSD 128GB | About 5000 yen | Purchase with Akiba |
| microSD reader writer | About 1500 yen? | I stayed home. | |
| Wired mouse | 200 yen | Purchase with Akiba / ordinary USB (A connector) terminal | |
| Required | Wired Keyboard | About 1000 yen? | What was at home / ordinary USB (A connector) terminal |
| Required | monitor | About 15000 yen? | What was at home |
| Required | HDMI cable | 1000 yen | Purchase with Akiba / ordinary USB (A connector) terminal / ordinary HDMI terminal |
| LAN cable | 500 yen | Buy with Akiba / wifi If you have an environment you do not need | |
| Required | PC connected to the net | Ten thousand yen | PC writing this article |
■ Preparation 2. Connection with Raspberry
· We will continue to connect the prepared items.
※ SD card is prepared separately.
· Before connecting

· After connection

■ Preparation 3. Place OS data on the SD card
Razpai can not be used just by turning on the power. It is necessary to put OS (noobs) in the SD card. Download the software from the PC connected to the net and put it in the SD card.
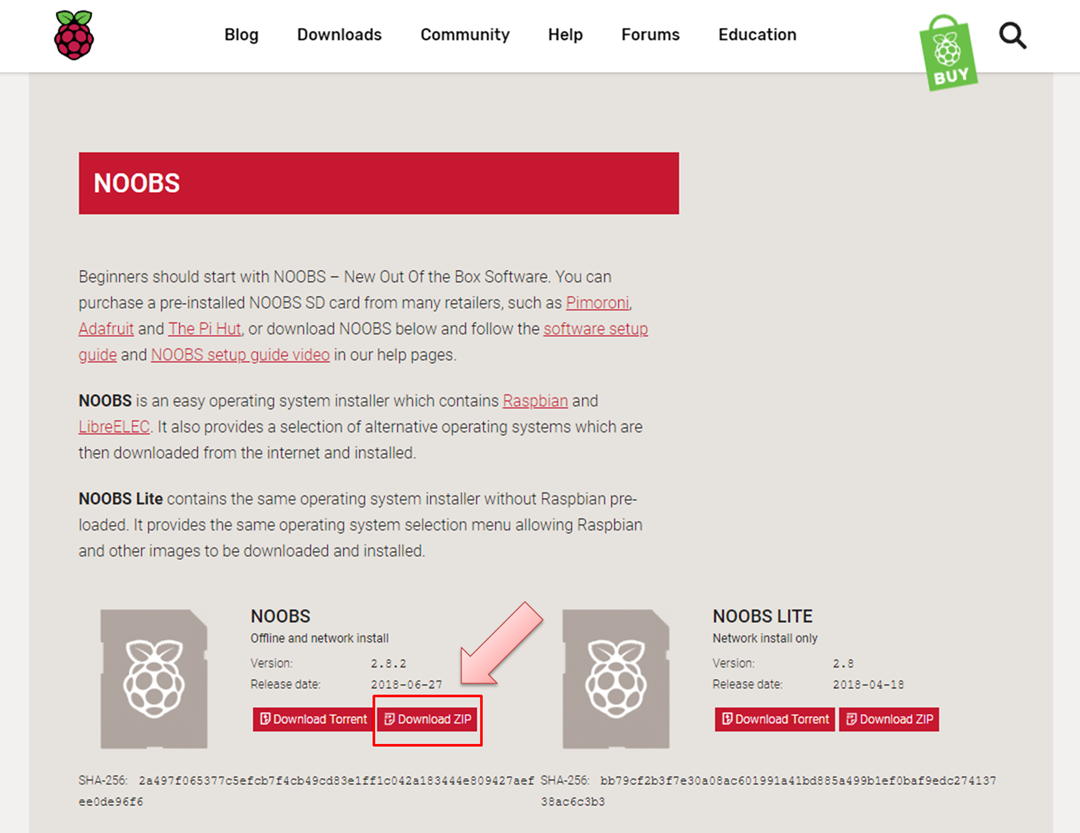
· OS (noob) download
[Raspberry] noobs Download
https://www.raspberrypi.org/downloads/noobs/
· Copy all thaws to SD card
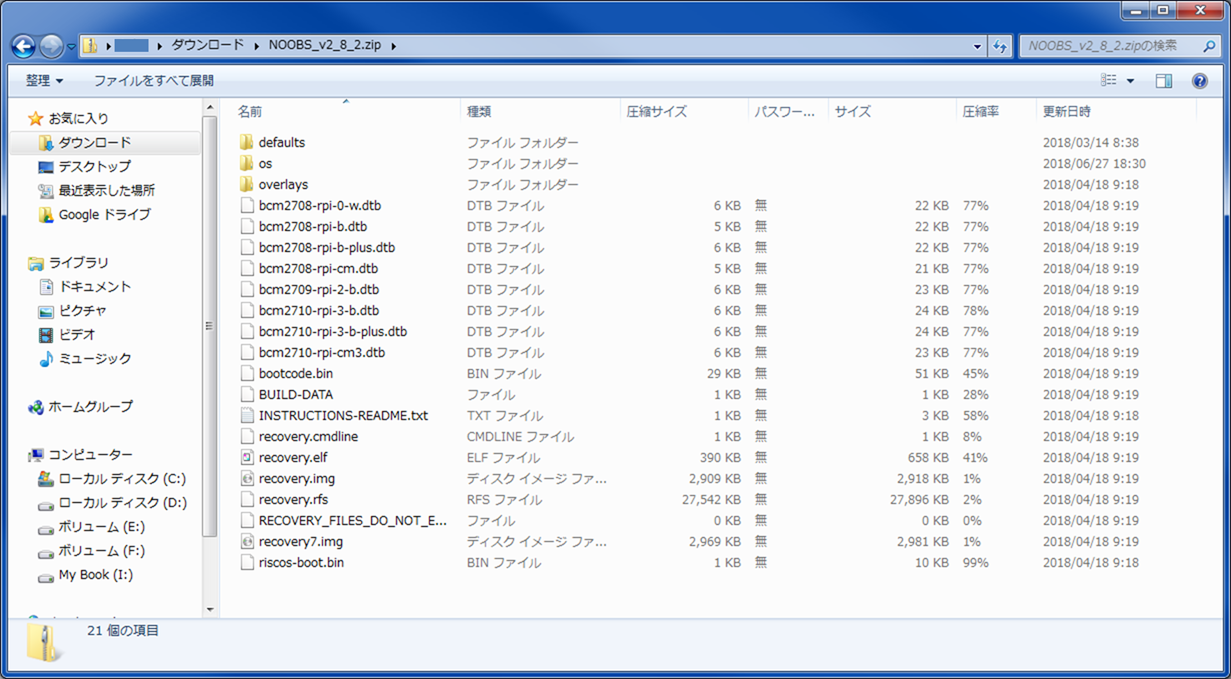
※SDカードが64GB以上の場合は、さらに別に事前処理をする必要があります。
Raspberry Pi向けに64GB以上のmicroSDをFAT32にフォーマットする@windows7
https://qiita.com/Higemal/items/2034ef9f772416b4dbb7
■ Operation 1. Power ON
Razpai turns on automatically when power is supplied from the power supply.
(The power switch is not on the body of the razz pie.)
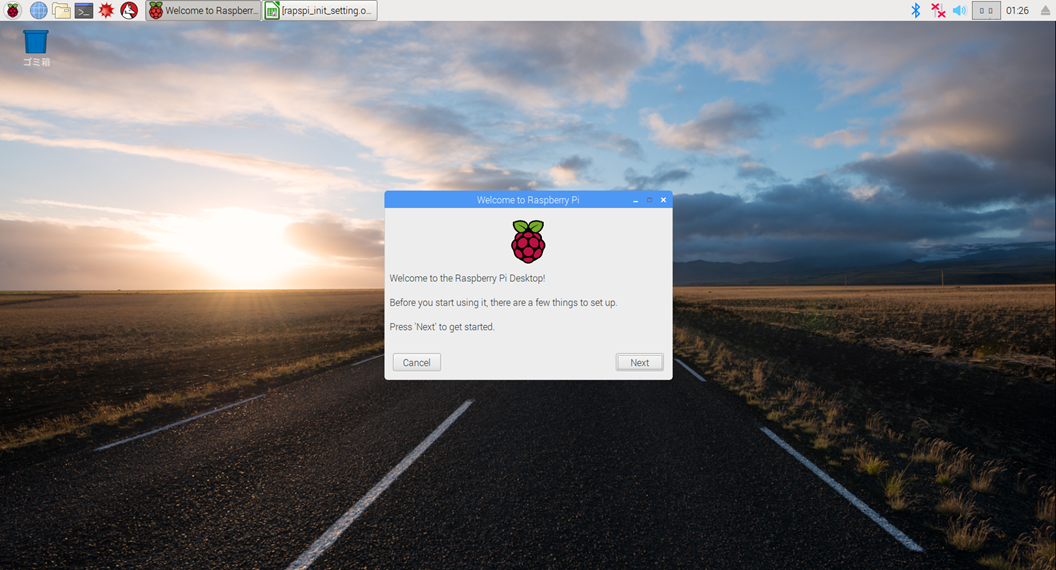
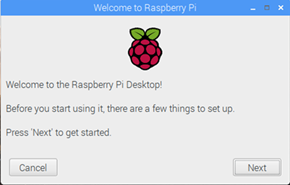
■ Work 2. OS Setup
After waiting for a while, the screen below starts up.
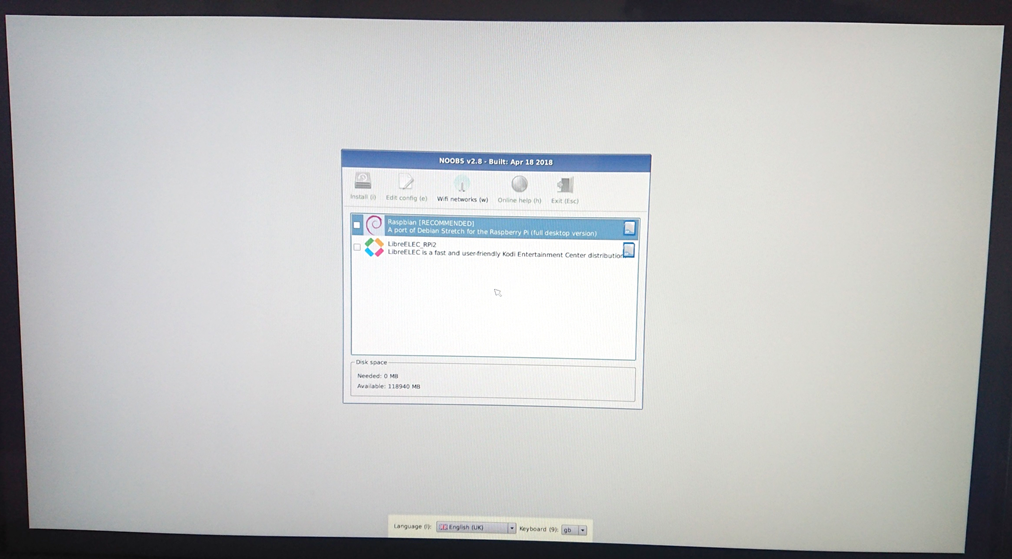
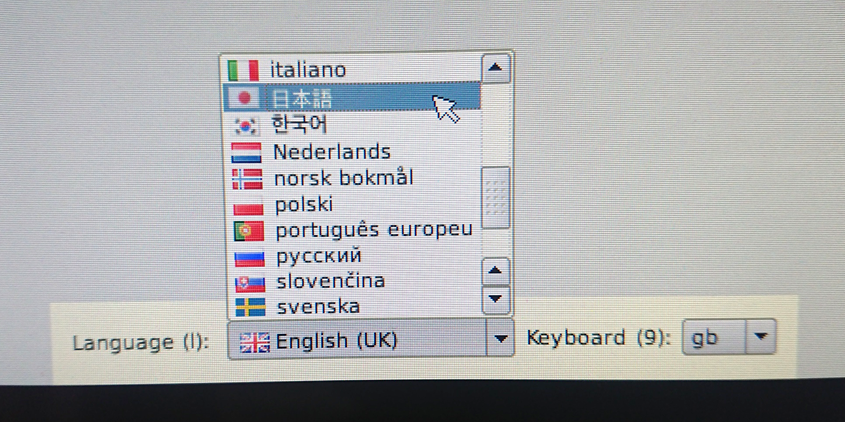
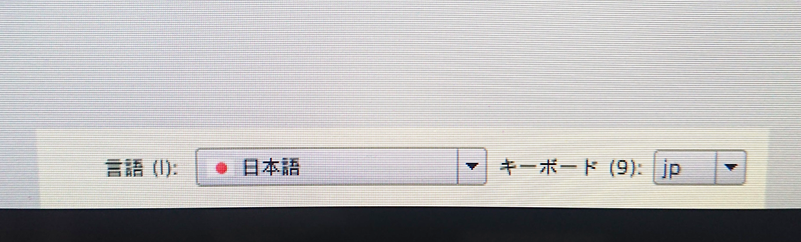
① Language selection
Select “Japanese” from “Language (l):” at the bottom of the screen.
② OS installation selection
Select “Raspbian” and click “Install (i)” at the top.

· Select “Yes” for confirmation.

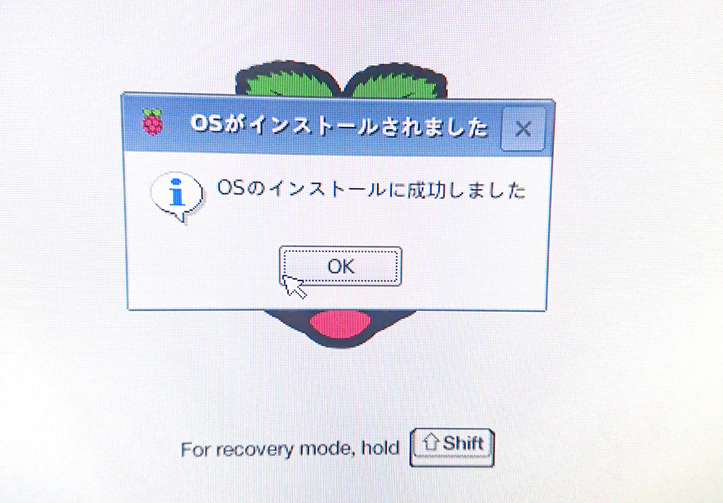
③ OS installation complete
· Wait for a while.

· Installation completion will be announced.
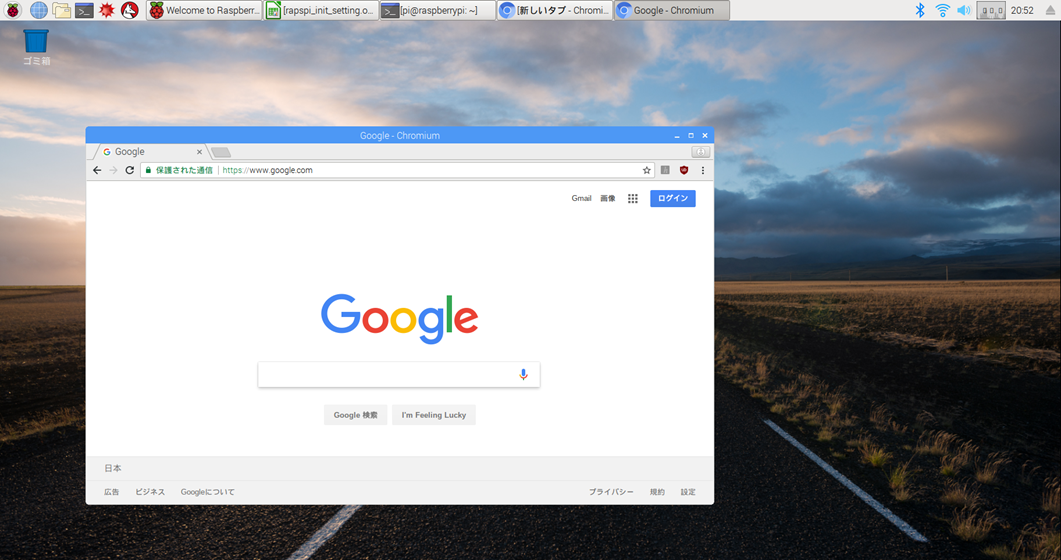
– The desktop screen has started.
# You can get a screen dump with screen shot by coming so far.